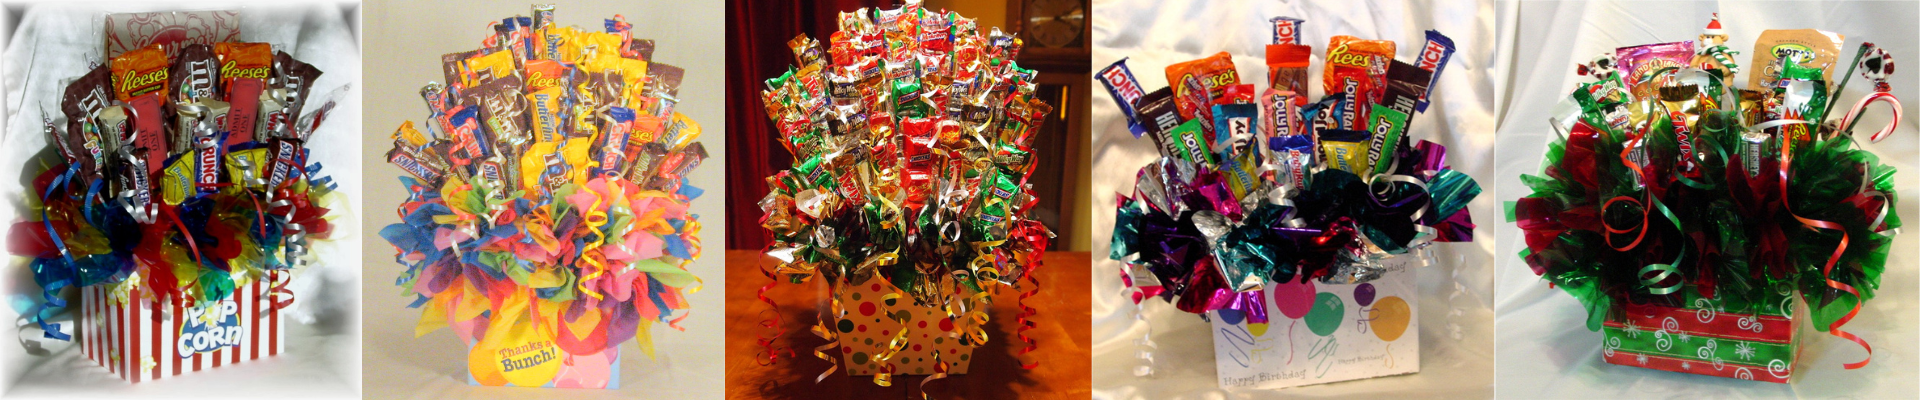
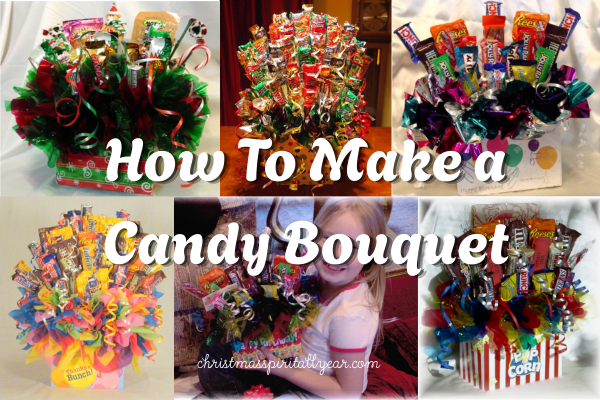
I really love to give unique gifts. And over 20 years ago, I stumbled upon the idea of using a candy bouquet as a gift. I LOVED that idea! So much so that I learned how to make them. What is a candy bouquet, you ask? It’s like a flower arrangement, except it uses candy or other small packaged snack foods instead of flowers. Kids absolutely LOVE candy bouquets…and so do men. How often would you think about getting a floral bouquet for a guy? Probably not. And don’t forget the ladies! Well, I started a candy bouquet business in my local area. That business actually did pretty well, but after I got married, I decided to sell the company.
I still make bouquets on occasion…usually as unique gifts for friends or family. They are perfect for teachers, co-workers, or coaches too!
Candy and snack bouquets look really expensive, but you can put together a bouquet pretty inexpensively…and the best part is that they make very unique gifts that people love to get! I used to charge $30-35 for a mug bouquet like the one I show you how to make here. But I can actually put together a mug bouquet for $12-$18, depending on what snacks I include (some snacks cost more). In the demonstration bouquet, I used granola bars and some organic fruit leathers. I paid $12 for all of the supplies for this bouquet.
And the best part is you choose what goes into the bouquet, so you can customize it for anyone who has food allergies or intolerances!
You need to gather the following items:
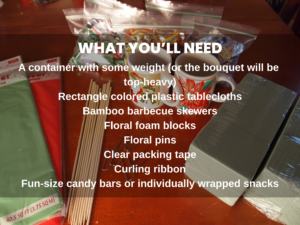
Here is a breakdown of the items you will need:
- Colored plastic tablecloth
- Bamboo BBQ Skewers
- Floral Foam blocks
- Floral Pins
- Clear Packing Tape
- Curling Ribbon
- Fun-size candy (I find that bags with multiple kinds of candy work best!)
You can use colored tissue paper instead of plastic tablecloths, but tissue tends to wrinkle and rip more easily and is more difficult to work with. They have colored plastic tablecloths at Walmart and dollar stores for around $1.25.
You will need to use a container with some weight. Mugs work really well for smaller bouquets (which is what I used for this tutorial). If the container is too light, your finished bouquet will be too heavy and topple over unless you put balloon weights on the bottom. One solution is to weigh down a lighter container. You can purchase balloon weights inexpensively at craft stores and party stores. You can find containers at dollar stores, discount stores, thrift stores, craft stores…you are really only limited by your imagination!
What you will do next:
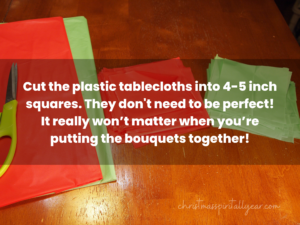
And when I say that you don’t need the squares to be perfect, I’m not kidding. Usually, I get a combination of squares and rectangles, and they all work just fine!
Step three:
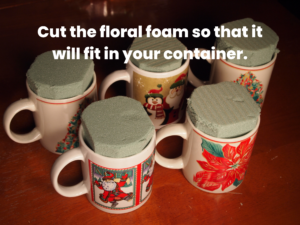
A steak knife works really well to cut this foam. And just like the plastic tablecloth squares, this does NOT need to be perfect. Just look at how imperfect the foam is above! Do make sure you have the foam sticking up above the top of your container. It makes it much easier to pin the tablecloth squares on later!
Now that your container is ready, you need to…
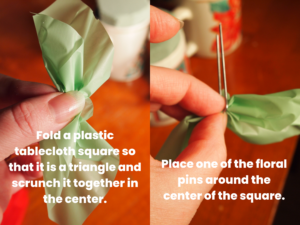
Pretty easy so far, right? Here’s what is next:
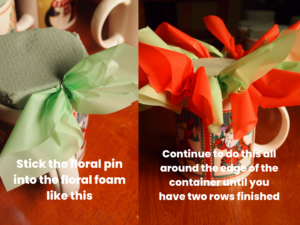
I recommend that you alternate colors when you are doing the above step. It just looks better. And you can use more than just two colors, but two is the minimum. I’ve used as many as 5 or 6 colors before when using a multi-colored container, and it looked great!
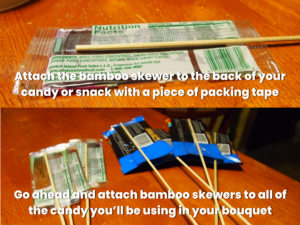
Next, you will need to attach the candy to long, wooden BBQ skewers.
Make sure you buy the long BBQ skewers (although there are several sizes). These can typically be found in the same aisle as the kitchen gadgets at your local big-box store. If you need to shorten them while you are adding the candy or snacks to the bouquet, then all you need to do is break the skewer (they break fairly easily).
Start sticking the prepared candy/snacks into the floral foam and arrange your candy bouquet. You will want the candy at different levels. Make the candy in the back taller and the candy in the front shorter. You can adjust the levels as you work.
Once you are done arranging the bouquet and it looks the way you like, then use some curling ribbon (make sure you curl it!) and drape it over the bouquet. It just gives your bouquet a little extra bling!
You can also take it one step further and wrap the bouquet in a cellophane gift basket bag. Tie the top with some more curling ribbon.
One word of warning…although kids love these bouquets, they are NOT for really young children. The BBQ skewers and the floral pins are very sharp and can be dangerous for young children. They are definitely not toys! So please monitor your kids when they have a bouquet!
Here’s what the finished candy bouquet looks like!